10 Tips for IOS Impressions
1) Use your scanner's Pre-Prep Feature
For cases where you want the lab to capture the anatomy of existing dentition or a provisional mock-up… this feature is extremely helpful!
2) Create a .5mm Line of Sight under the margin, if possible
a. This can be readily accomplished in some cases where there is enough axial height to create a supra-gingival margin.
b. In cases where a sub-gingival margin is required, use tissue retraction techniques to ensure a sub-marginal line of sight for the scanner.
3) Prep with a wide CHAMFER or SHOULDER diamond such as the 6856
Scanning prep requires visibility. To provide clear margins for our designers, make sure that use a wide chamfer or shoulder finish line. This will create sufficient room, for the monolithic zirconia or e.max.
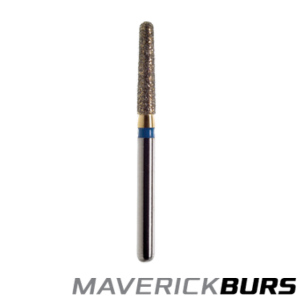
Try out the 856 Round-End Taper Diamond from Maverick Burs!
https://maverickburs.com/product/856-round-end-taper-diamonds/

4) Finish prep with a FINE DIAMOND
Do this to refine prep surface such as our 8856. This reduces jagged margins and sharp line angles so that we can create an intimate intaglio fit.
5) Tissue management
For cases that require a sub-gingival margin or for cases where inflamed tissue is impinging on the margin, proper tissue management is key!
a. Double Cord Technique- The Single Cord Technique often doesn’t cut it! Click the link to read an article on the proper steps for double cord retraction:
https://www.speareducation.com/spear-review/2013/12/the-double-cord-impression-technique
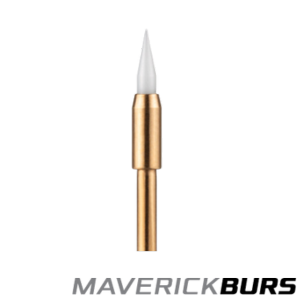
b. Rotary Scalpel- This will help cauterize and conservatively trough tissue. Try the Maverick Burs 535000 Rotary Scalpel!

c. Lasers- This will help to conservatively trough and cauterize tissue that overlaps the margin.
6) Create a Dry Environment
One of the most common issues with digital impressions is caused by moisture accumulation on key areas like margins. When there are drops of saliva or blood that gather on the preparation, preparations can appear blotchy which inhibits the final design. Be sure to apply compressed air, saliva evacuators and cotton balls to create a clear scan.
7) Capturing a proper bite
a. Be generous when scanning adjacent dentition. 2-3 adjacent teeth will be needed.
b. Always rehearse the bite with the patient prior to recording the bite scan.
c. Make sure the patient isn’t clenching during the bite scan. This should be a natural, comfortable position for the patient.
8) Watch for missing data
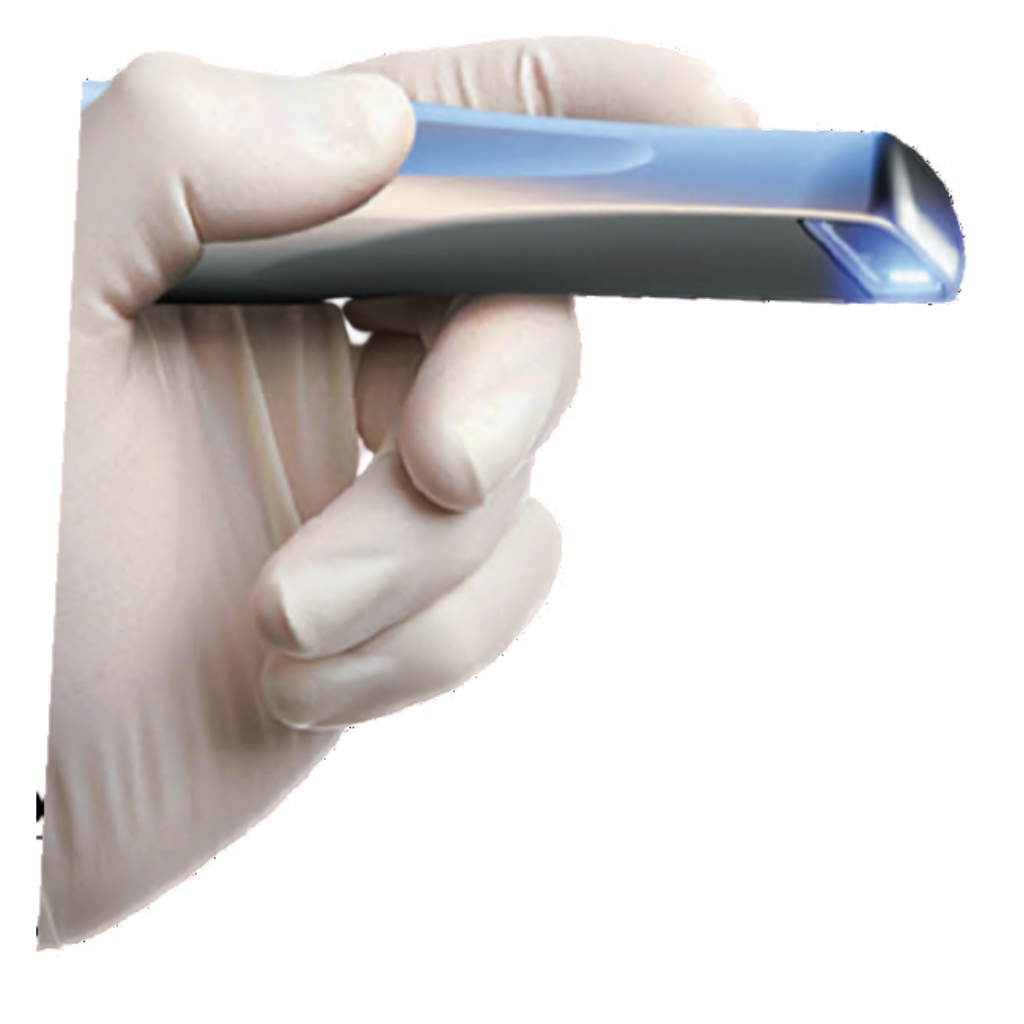
It can be tempting to scan quickly. Instead, use a steady, smooth motion to capture occlusal, buccal and lingual aspects. Do not neglect interproximal areas adjacent to the preparation. We recommend rocking the scan wand at varying angles to gather interproximal data. From there, our technicians can deliver consistent contacts on every case!
9) Double check each scan before sending
a. Make sure there are no holes in the prep scan or on the adjacent contact points.
b. Use the scanner’s software tools to ensure adequate reduction and make sure there are no undercuts near the margin.
10) Crown under partial
One of the trickiest restorative feats just became easier with your digital scanner! Once the site is prepped, take a scan of the prep site, then take a pre-op scan of the prep exposed, partial seated. This will allow us to capture the depth of the clasps and rest seats. In the RX notes, instruct the lab to design to fit an existing partial. Yes, it’s really that easy!

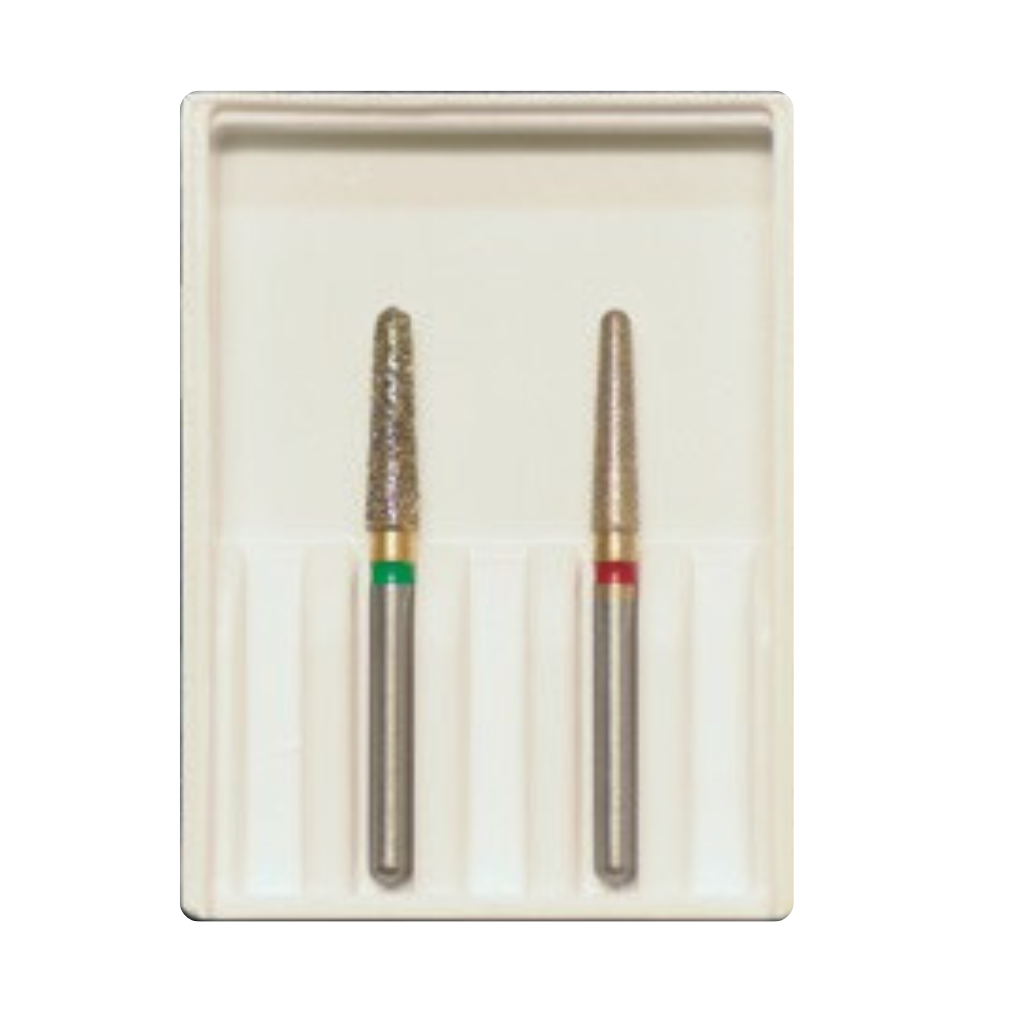
Receive 2 FREE chamfer prep diamonds with every digital crown & bridge case!


